
Welding and Gluing 3D-Printed Plastic Parts
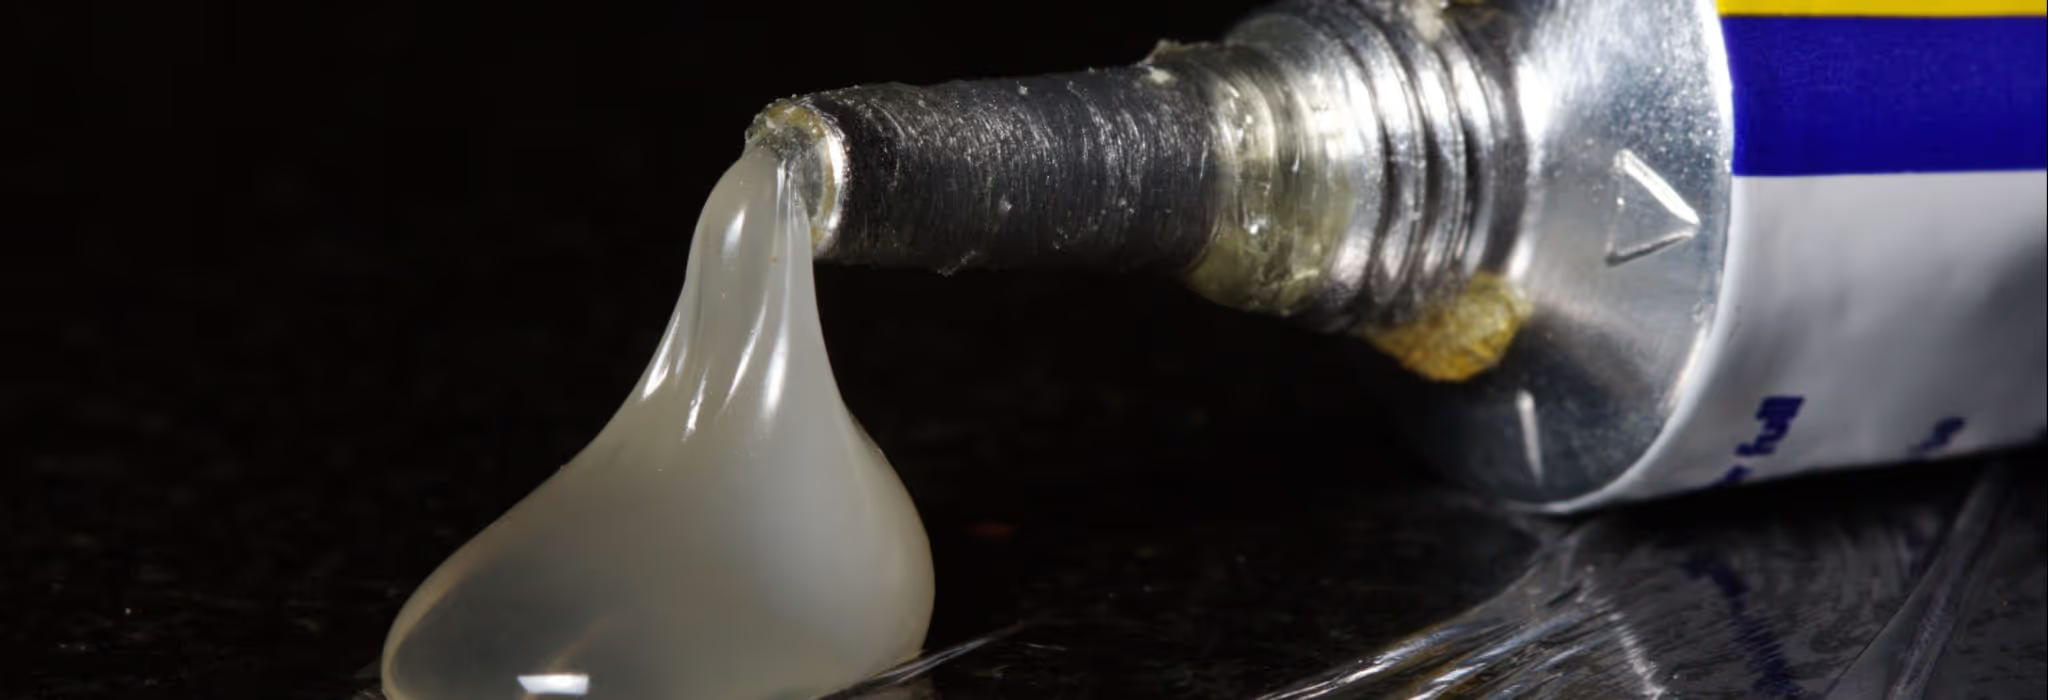


One of the ongoing challenges with any sort of 3D printing is how designs that exceed printers’ build spaces can be successfully printed. As 3D printing has been successfully utilised, forward-thinking manufacturers and research have begun pushing the limits in terms of what can be printed with the available technology. While this has led to a number of fascinating research projects, such as the ESA’s in-house printing platform, for the vast majority of 3D printing operations, the most practical solution for designs that exceed the available printer capacity is to simply divide the design into multiple components and print them separately, ready for assembly.It’s simple in theory, but there are a few different ways that you can go about this, depending on the materials used and your desired end result. Let’s look at the key areas you need to consider when 3D printing plastic and the different gluing and welding techniques that can be utilised...Preparing your partsBefore any gluing or welding takes place, make sure your parts are clean, free of any leftover materials (particularly with SLS printing) and will fit together cleanly. Even if this is the case in your original 3D model, it is important to check whether any subtle warping during printing will affect the quality of the join.IMPORTANT: Whichever method of gluing or welding you use, work in a well-ventilated area and wear the appropriate protection. Health & safety first!Gluing your partsGluing plastic parts is, for the most part, relatively straightforward. There are three basic types of glue that can potentially be used for plastic 3D prints:
- Superglue. This staple of virtually every workshop has the advantage of being both cheap and readily available. It’s also resistant to freezing and chemicals, which may be advantageous for functional parts. However, exercise caution if you are utilising it with dyed parts or coloured materials, as it can cause discolouration. Furthermore, although parts only take a minute to bond, they should ideally be left for several hours before any further post-processing takes place, as this is necessary for polymerisation to take place and a strong chemical bond to form.
- Epoxy. This is a versatile choice that can be used with any material and won’t lead to discolouration. While it takes a long time to dry and for polymerisation to occur (at least a day for optimal results), this can actually be an advantage for parts that must be fixed with the highest degree of precision, as they can be subtly repositioned before the glue hardens.
- Neoprene. This is used less than the first two options, as it takes a while to dry and will not be invisible once it does. However, it does work with virtually any material.
Welding techniques for plasticAs an alternative to glue, if you are printing with SLS techniques, you can use a mix of acetone and your original powder to ‘weld’ your parts together, creating a bond that is materially identical to each part, that can be post-processed in the exact same ways. Exercise caution here, particularly with parts that have fine details or thin walls. Too much acetone will melt them and ruin your part. On the other hand, you could consider friction welding, which works by using a spinning bit to melt parts, after which they can be fused together. For SLA prints, this can be accomplished by inserting a small part of your filament into a rotary tool, then using this arrangement to apply the weld. It’s a great choice for large prints that require very strong joins.One particularly exciting innovation in welding plastic parts was unveiled in July 2017, when researchers at the Department of Materials Science and Engineering at Texas A&M University unveiled a new technique for fixing parts using precisely-applied microwaves. While this technology is still at the research stage, the potential is certainly great, as it offers an approach to welding that is hands-free and delivers stronger-than-average joins.Getting a clean, strong joinWhichever method of gluing or welding you choose, work carefully and consult your material specifications where necessary. While it may be possible to use sanding to smooth out an untidy result, you will get a far more professional finish if you achieve a clean join that requires the absolute minimum of further processing.The result will be strong, durable parts, and the flexibility to deliver them in whatever size is needed by you or your customers.


.avif)

.svg)

Subscribe to our
newsletter
