
Support structures for 3D printing with metal -- an easier approach
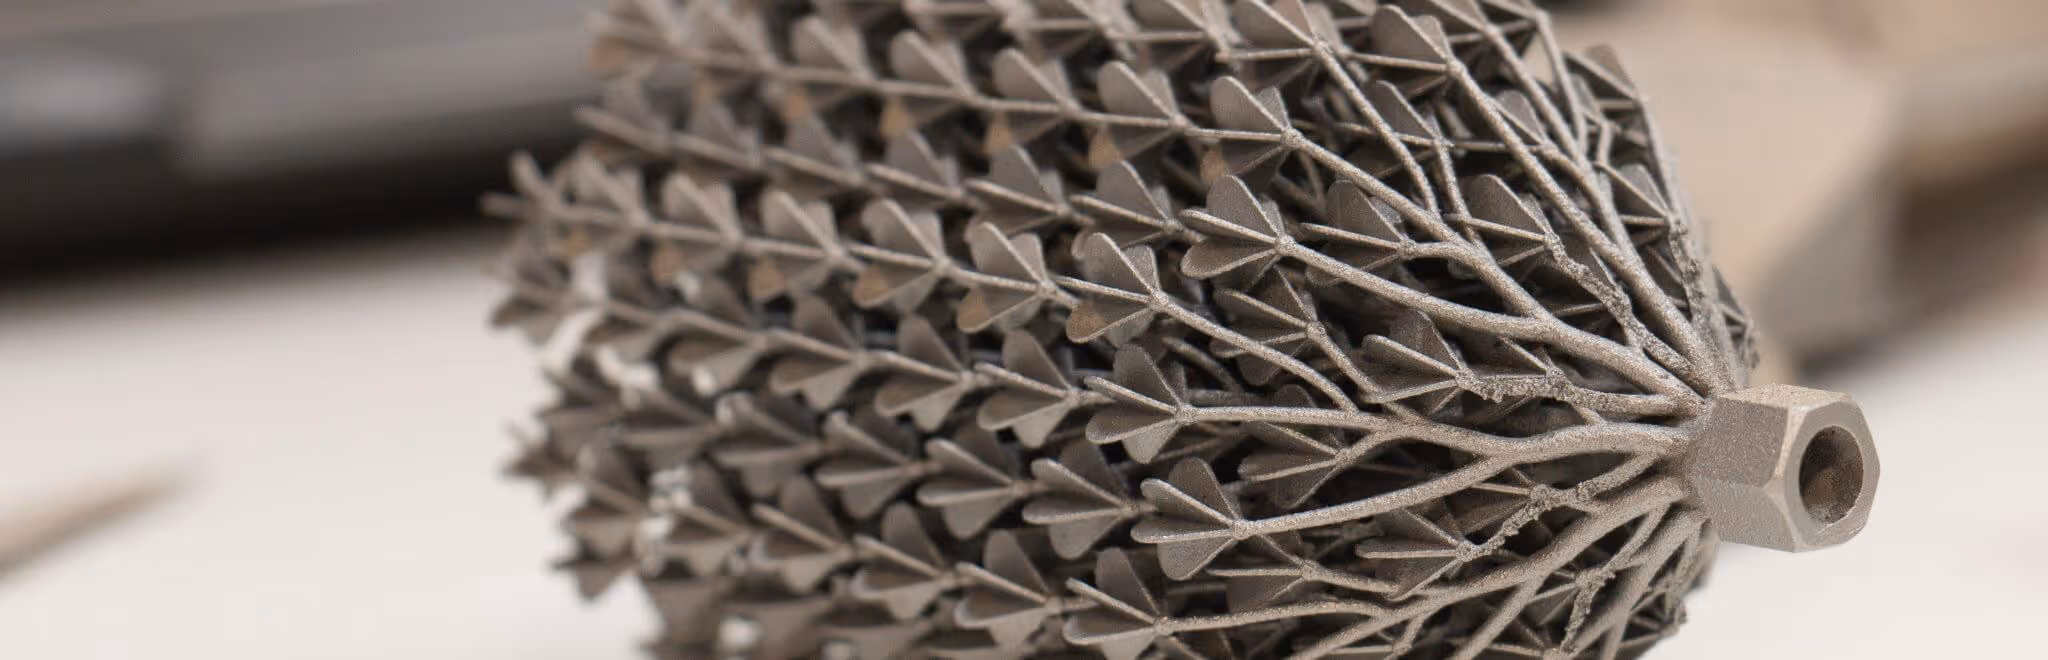


We’ve already looked at the challenges that come with successfully utilising and removing support structures for 3D printed parts, but removing them from metal parts can prove especially difficult, particularly when a clean, smooth finish is required. That’s why we’ve prepared this short tutorial on managing your support structures for 3D printing with metal, to help avoid any unnecessary stress during the post-processing stage. Avoid them altogether!As a rule, it’s better to minimise the need for support structures with any form of metal printing, so consider this before your 3D model is sent to the printer. Experiment with different part orientations until you find settings that will minimise visible layers while still avoiding an excessive number of supports. If your 3D design software is able to automate this process, so much the better.Use angled supportsAngled supports can help maintain a solid connection with the printing bed while minimising the amount of contact the supports have with your part’s surface area. This will make them much easier to remove later.Avoid heavy support structures, where possibleOccasionally, heavy, solid supports are an unfortunate necessity (when printing a large, downward-facing surface, for instance), but they will be extremely difficult to remove cleanly. Aim for light, tubular supports wherever possible, as these will require far less time and effort.Factor clean break points into your designThere are a few different techniques that can help you avoid untidy breaks when removing your supports. One approach is to incorporate fine ‘teeth’ into your supports, which actually penetrate the part’s surface. These provide a strong connection during the printing process, but will leave tiny divots in the printed part after removal, which will need to be filled during post-processing. Alternatively, design your supports so they taper out as they make contact with the part. These will still leave fine marks that will need to be removed, but will make clipping the supports away and smoothing out the surface much easier.Wire cutting will produce a cleaner result than machining You will always achieve a cleaner result when removing support structures by using the same wire cutting technique used to remove the part from the printing bed. Aim to position your supports so this will be practical and extra machining can be avoided.Explore dissolvable support materialsAlthough they are not as widely used as DMLS, it is now possible to 3D print metal using FDM, or sophisticated techniques like LENS that can utilise multiple powder feeders in the same print run. These technologies offer a major advantage during post-processing in that there are now dedicated support materials available for 3D metal printing, which can simply be dissolved rather than cut away, leaving no visible marks on the part’s surface. Although this approach will require specialist equipment (particularly a multi-material printer), it definitely warrants investigation if a streamlined post-processing stage is a top priority for you.There’s no doubt that utilising support structures for 3D printing with metal will always present a challenge, but if you plan for them when designing your 3D model and exercise the right tools and techniques during post-processing, their removal needn’t be unnecessarily time-consuming.


.avif)
.svg)

Subscribe to our
newsletter
